
Tiny Tina’s Wonderlands is now available and is every bit as addictive, exciting and entertaining as you’d hope. In our review, we wrote that Wonderlands is “is a love letter to pen & paper RPGs…with guns.” It’s got magic, dragons and a whooooole lot of guns. There are also quite a number of levels and chapters that the story takes place across.
There are a number of levels that are required to be completed and a handful of optional ones, though they’re all great and well worth exploring, especially if you want to level up your character.
Within each of the levels, there are missions, quests, collectibles and more. One of the main types of collectibles are the Lucky Dice. These 20-sided beauties slightly increase your Loot Luck with each one you collect so the more you collect, the better the loot. You’ll hear Tina say that on more than one occasion. Trust me.
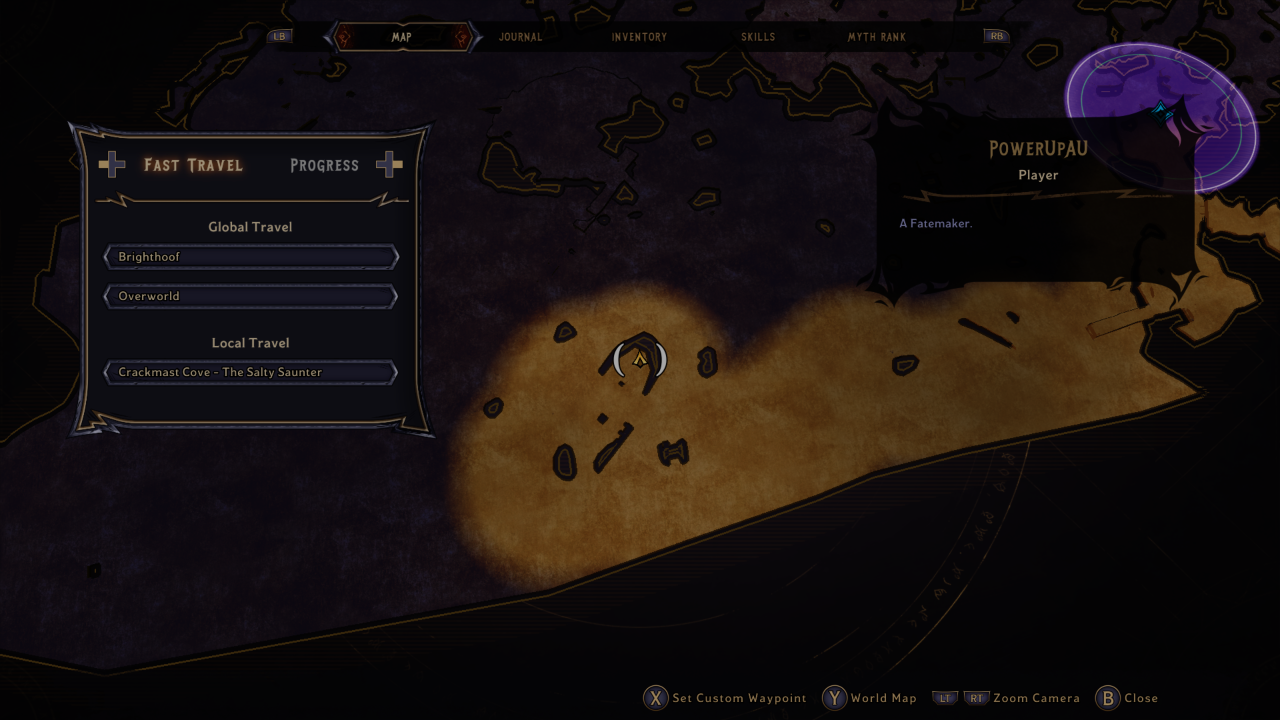
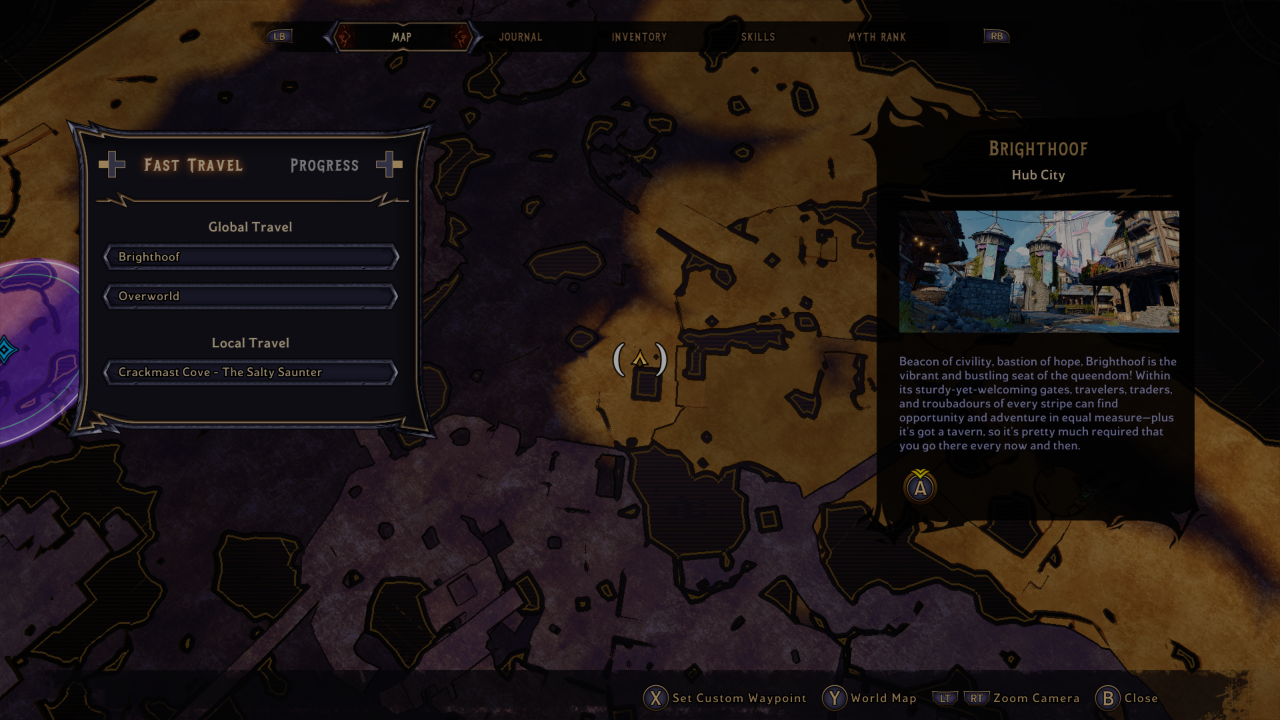
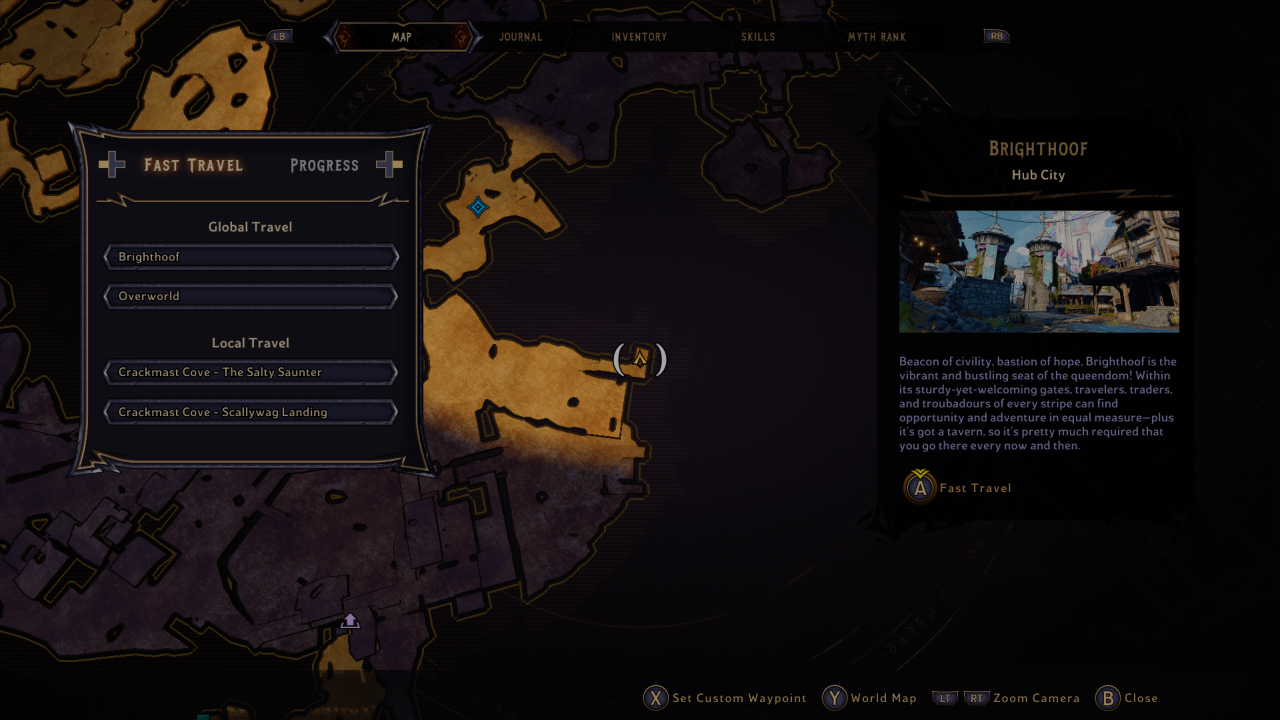
Tiny Tina’s Wonderlands Crackmast Cove – Lucky Dice
There are 22 Lucky Dice in Crackmast Cove and they’re spread all over the level. Some of them are pretty well hidden, lucky for you, we’ve already found them all so you don’t need to stress.

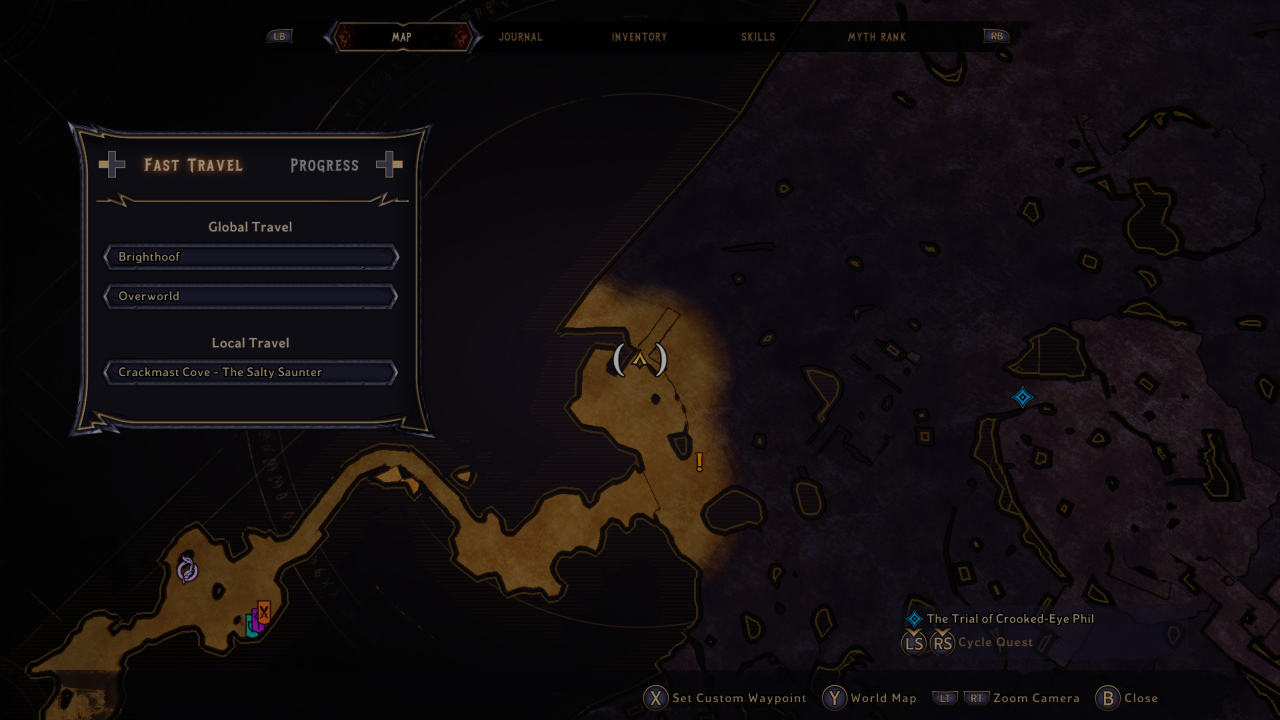
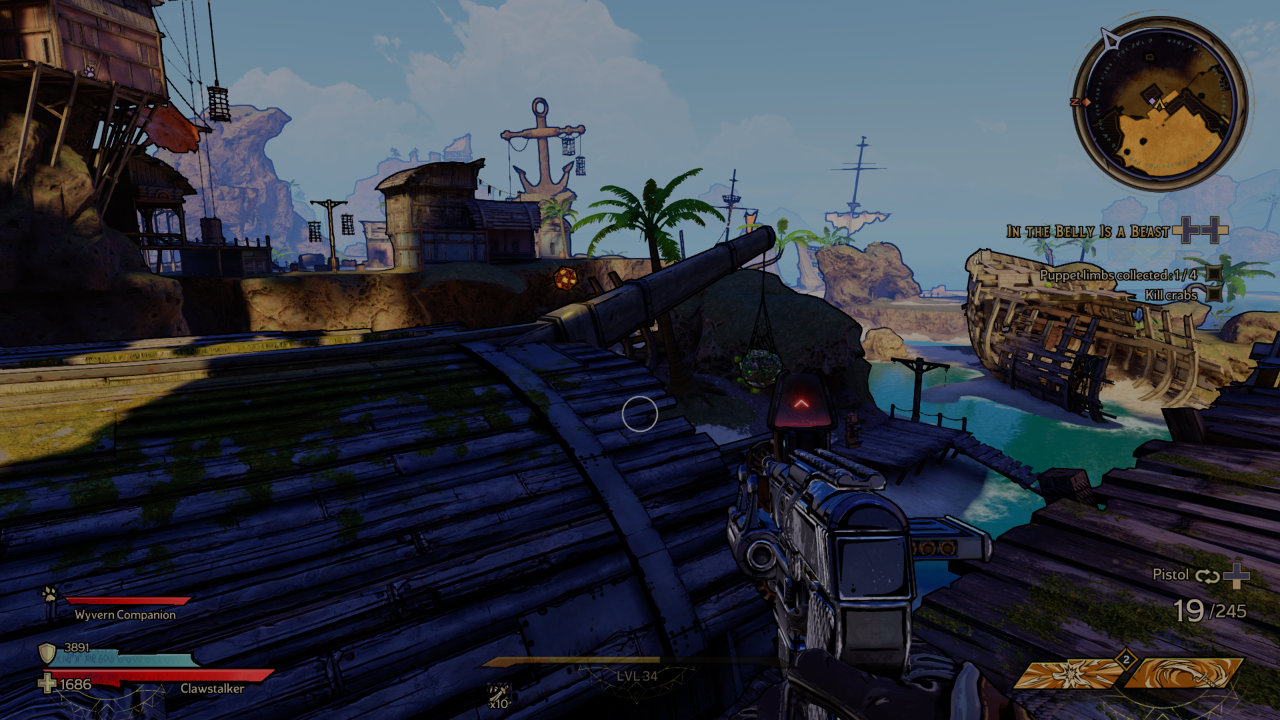
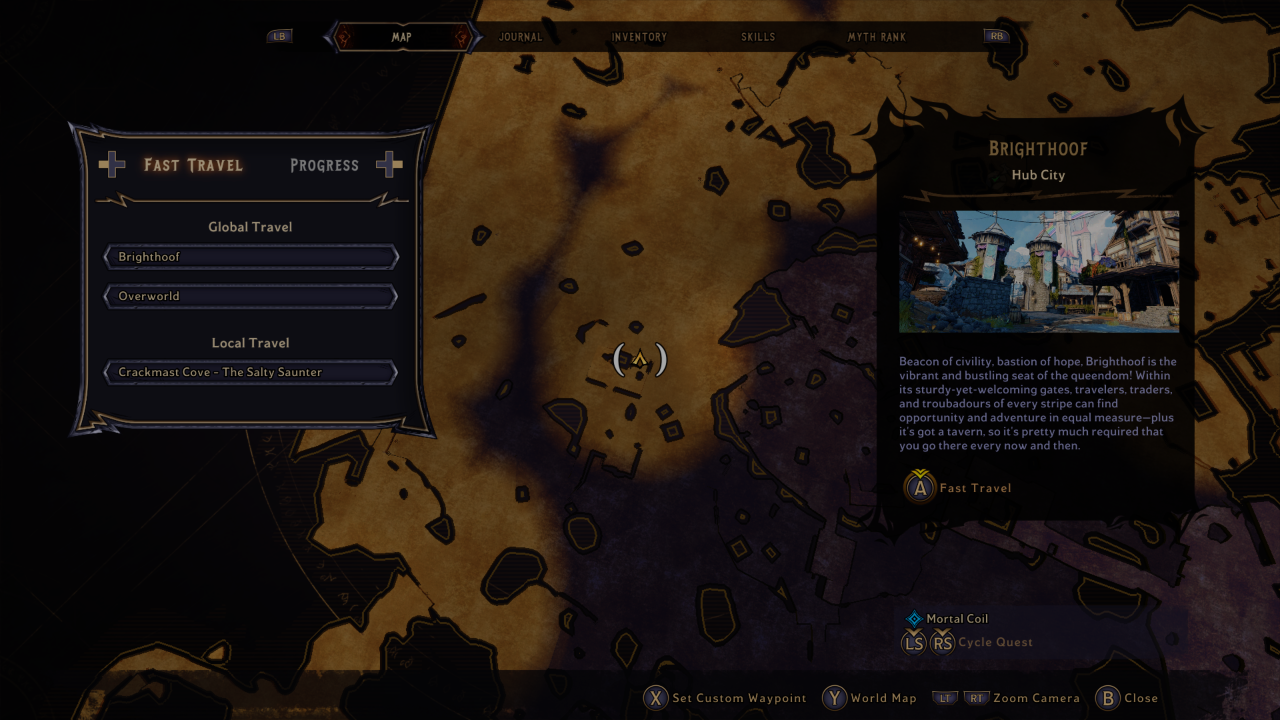
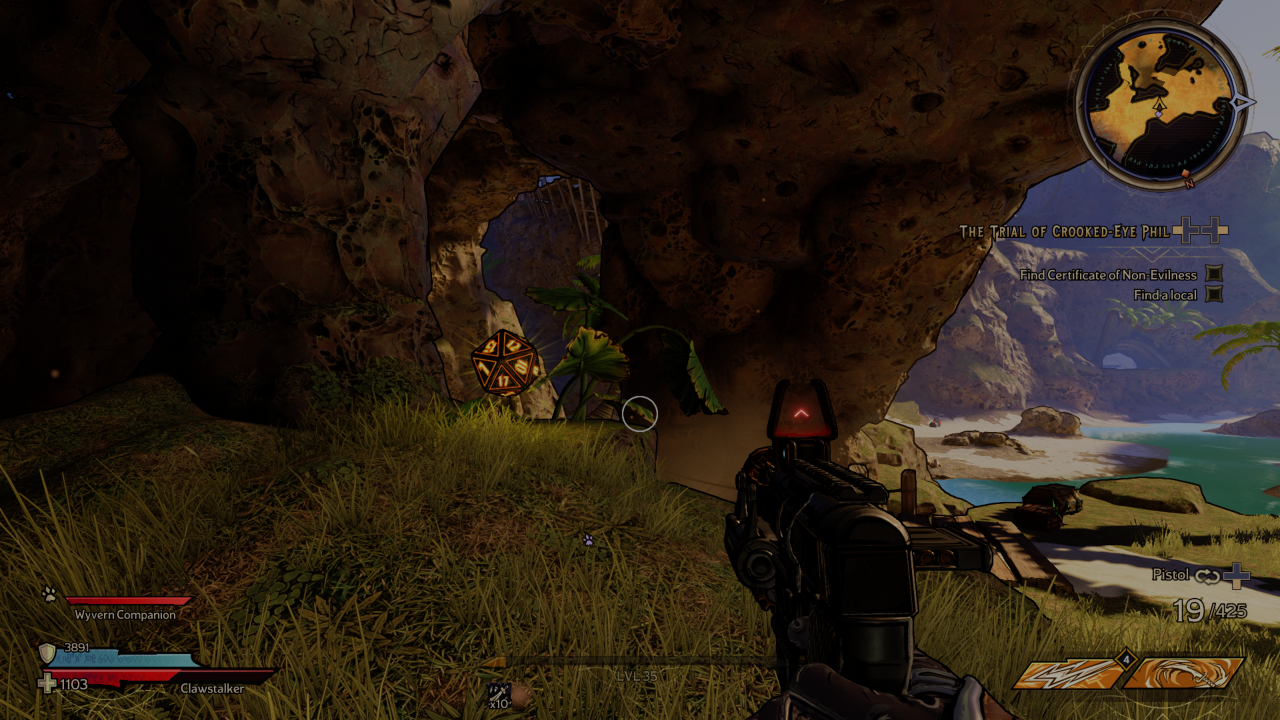
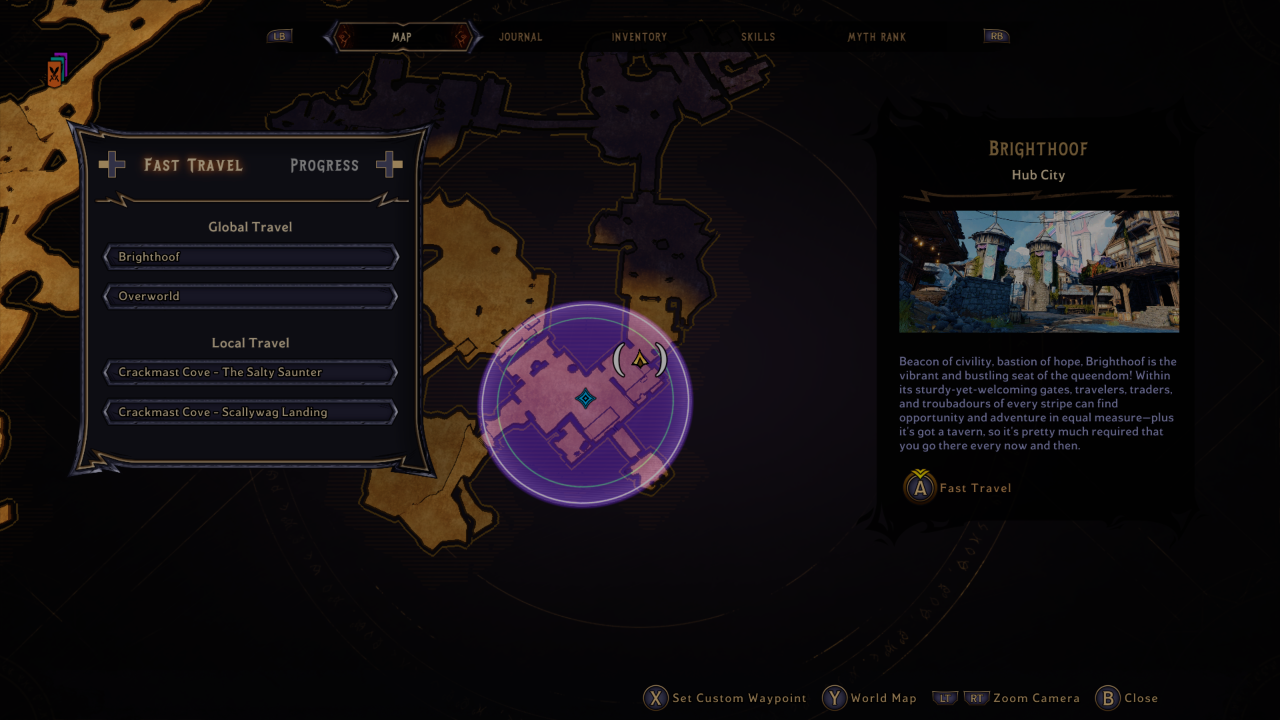
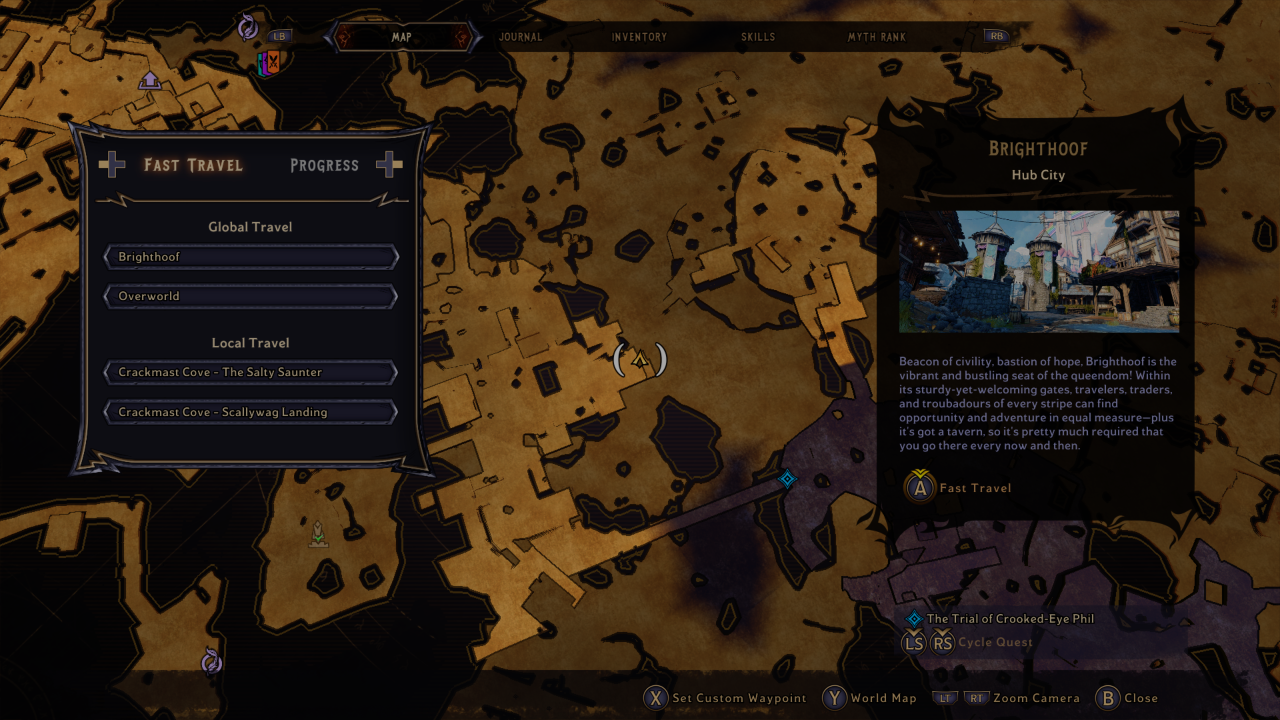
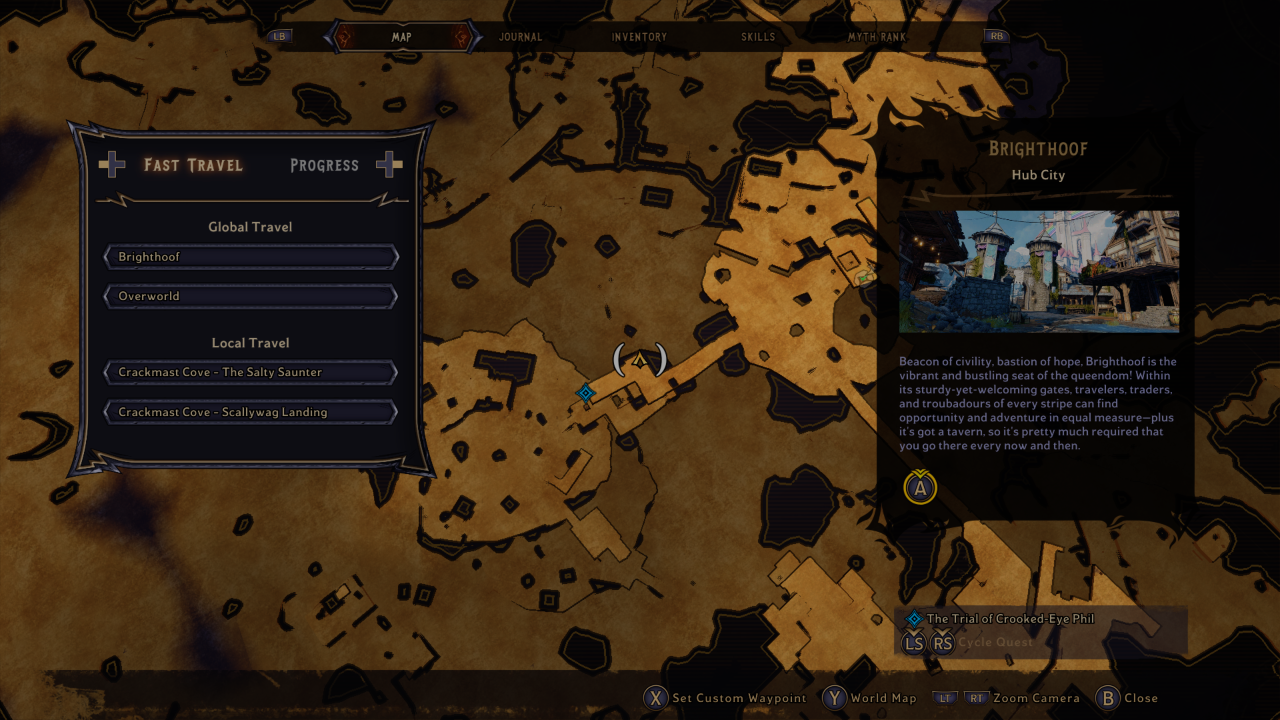
The first Lucky Dice in Crackmast Cove can be found right near the beginning of the level. As you make your way south from the fast travel totem and vending machines, look up while you’re walking along the boardwalk. As you round the corner, you’ll see the Lucky Dice on a platform to your left. Look for some wooden frames and structures attached to the boardwalk you can climb and grab the Lucky Dice.
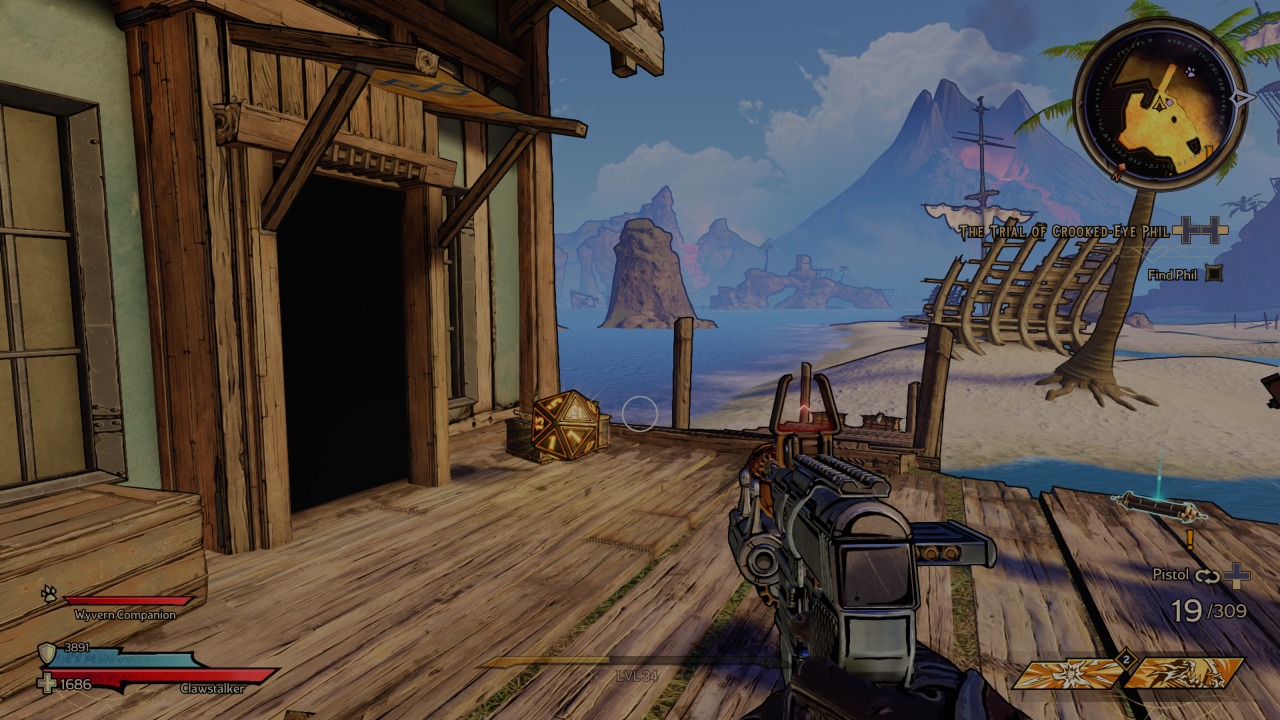
The next Crackmast Cove Lucky Dice is to your left(west) as you exit the cave from the beginning. Look for a small shack overlooking the beach with a Lucky Dice out front.
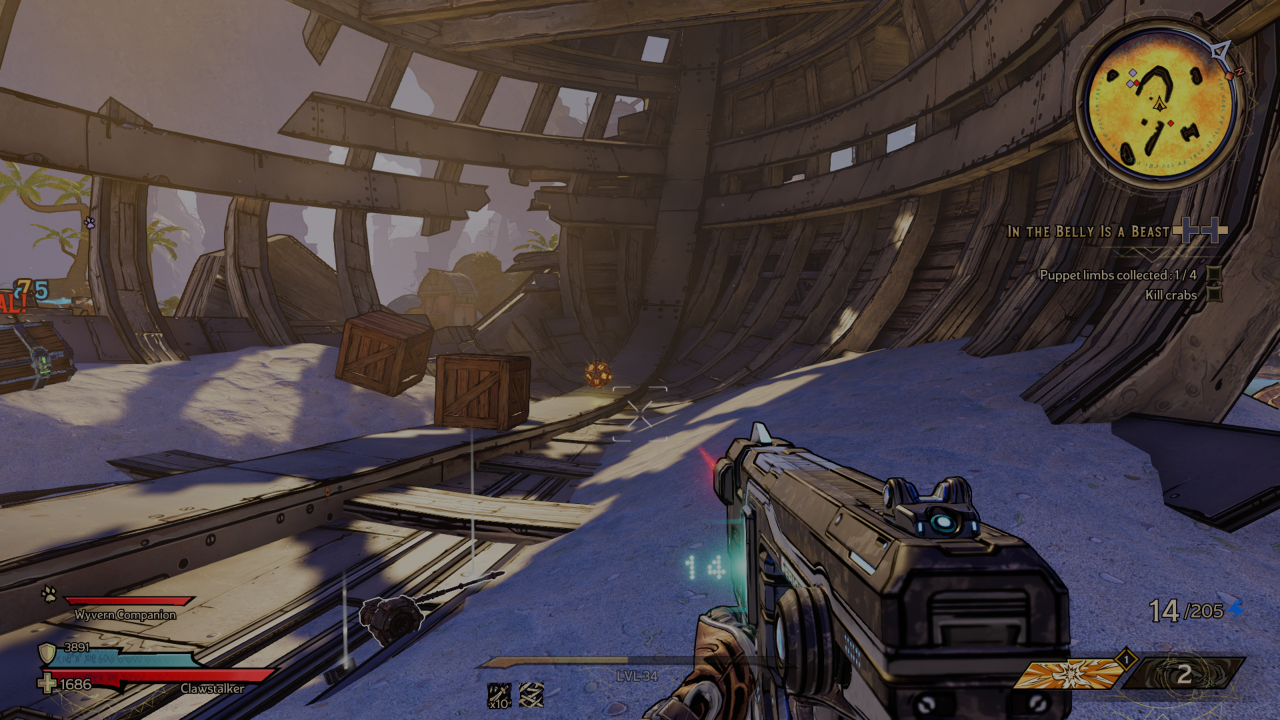
Continue south from the previous Lucky Dice, sticking to the western side of the map. You’ll come to a shipwreck split in two. Head inside, turn right(east) and grab the Lucky Dice from behind some crates.

From the Lucky Dice in the shipwreck, head to the west. Go past the shipwrecks and shacks, until you reach a large open area filled with water. Once there, turn right (north) when you see some wooden platforms. On top of a pier is the Lucky Dice.
Move northeast from the previous Lucky Dice and hug the western side of this area. You’ll come to some shacks and buildings. Look for a building with a curved roof set down lower than the others. On top of this building is a Lucky Dice. You’ll be able to see some other buildings and a large anchor in the distance.

Keep moving northeast but go to the south of the large, raised area with buildings in front of you. Go around this raised plateau and then head north until you come to two small shacks, east of the skeleton of a shipwreck. Outside these shacks, near some crates and barrels is your Lucky Dice.
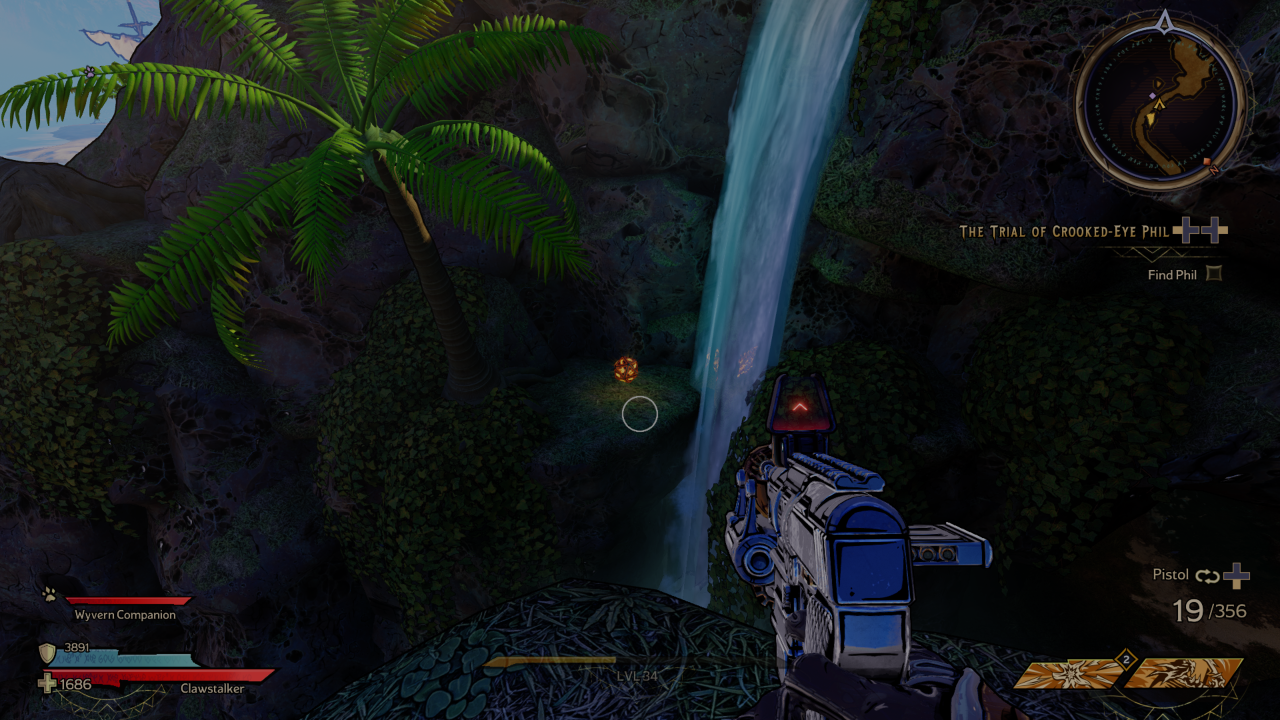
Next, you’ll need to go northwest and head towards the two waterfalls you can see up ahead. Climb up the slope and go through the larger and further away of the two waterfalls. Follow the path west here until you reach another waterfall to your right(north). Look to your left(south) while standing at the waterfall and you should see the Lucky Dice just to the west of a large rock wall.


Keep going west, past the large mangrove tree and house on your right(north). Head towards the enormous beached whale and when you reach it, take a right and head north. You’ll come to a dead-end with a Lucky Dice waiting for you.
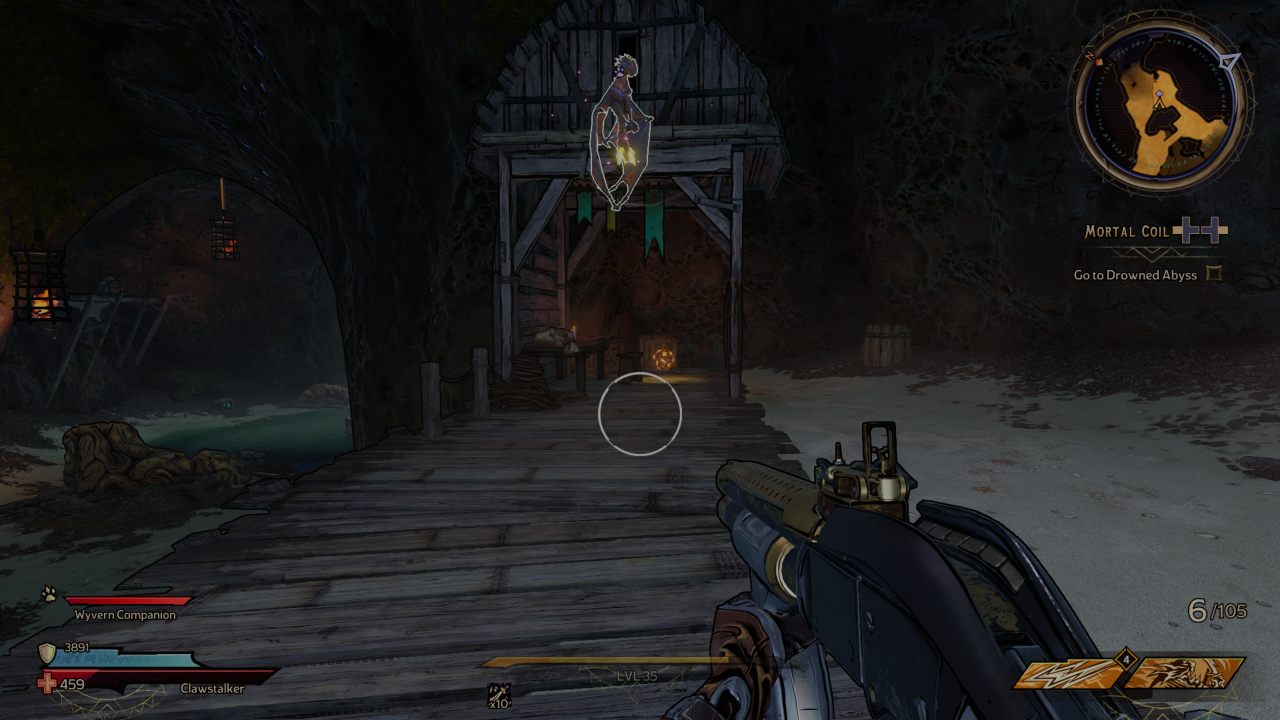

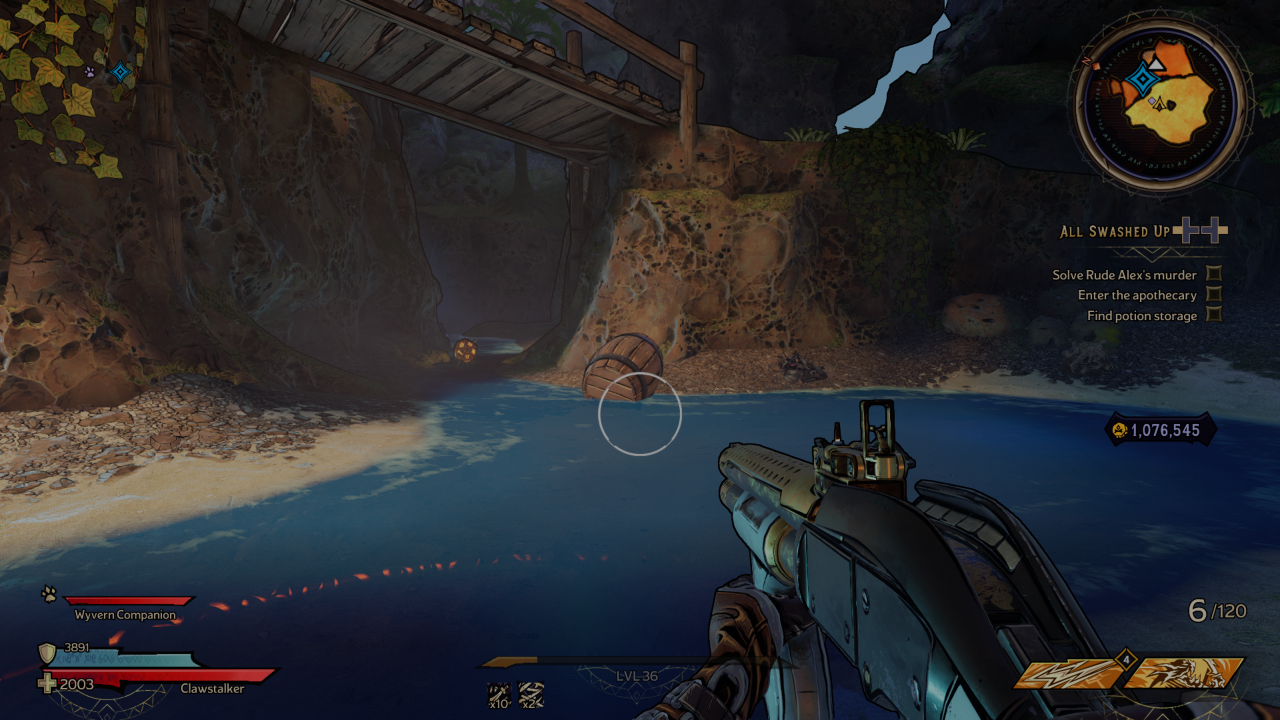
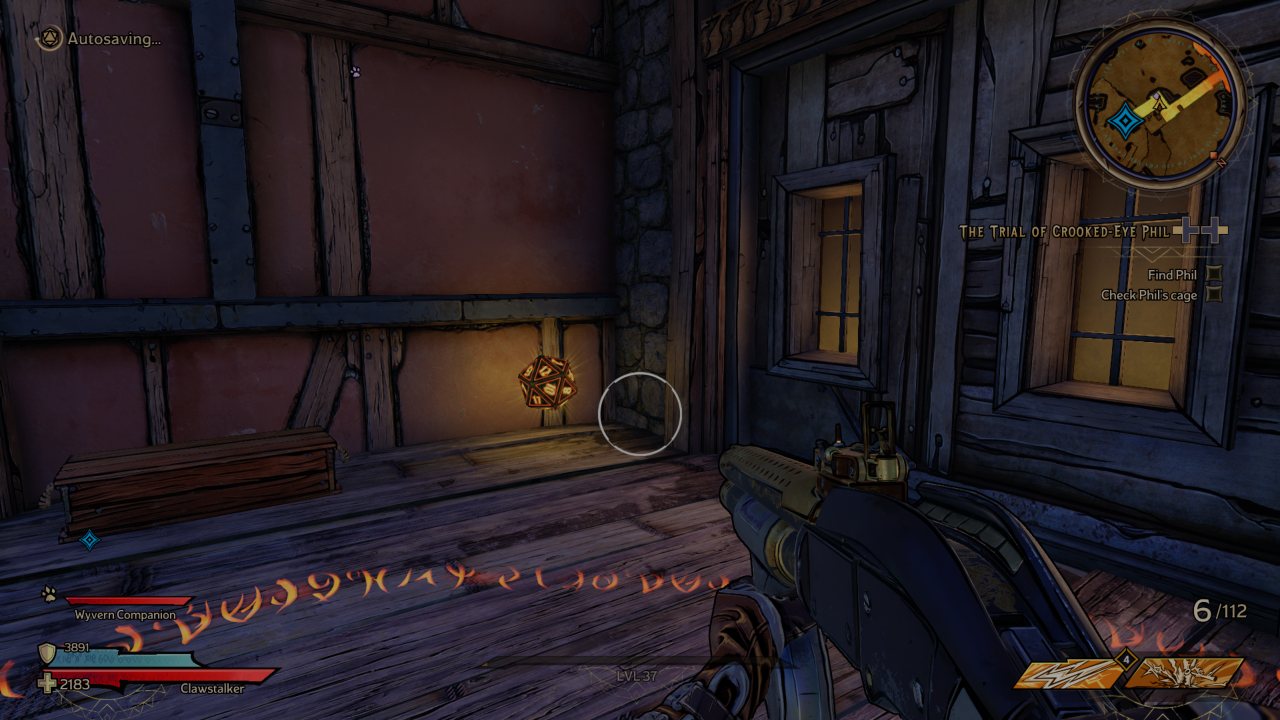
Go back to the large house you passed and head north here to go inside a large cave. Make your way through the cave system until you pass through a large open cavern with bridged and a shipwreck above. In the area just north of this, there will be a raised section to the east with a shack on it. Inside this rundown shack is the next Lucky Dice.
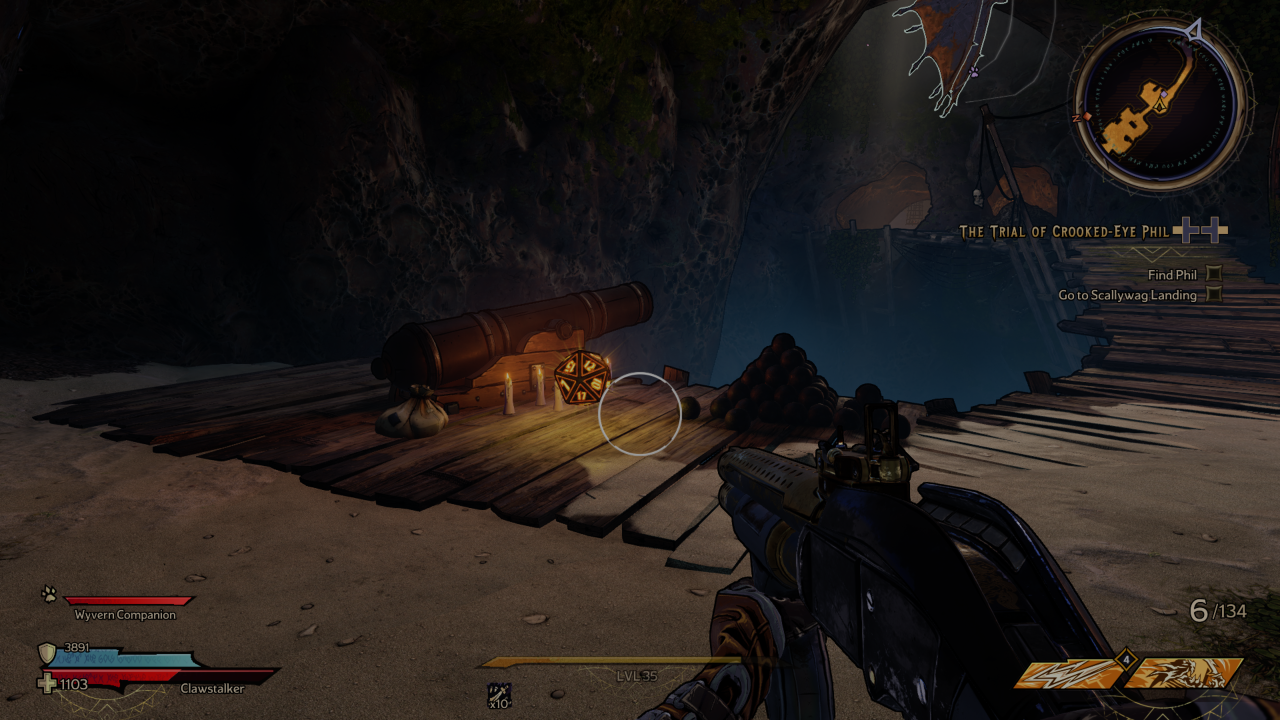
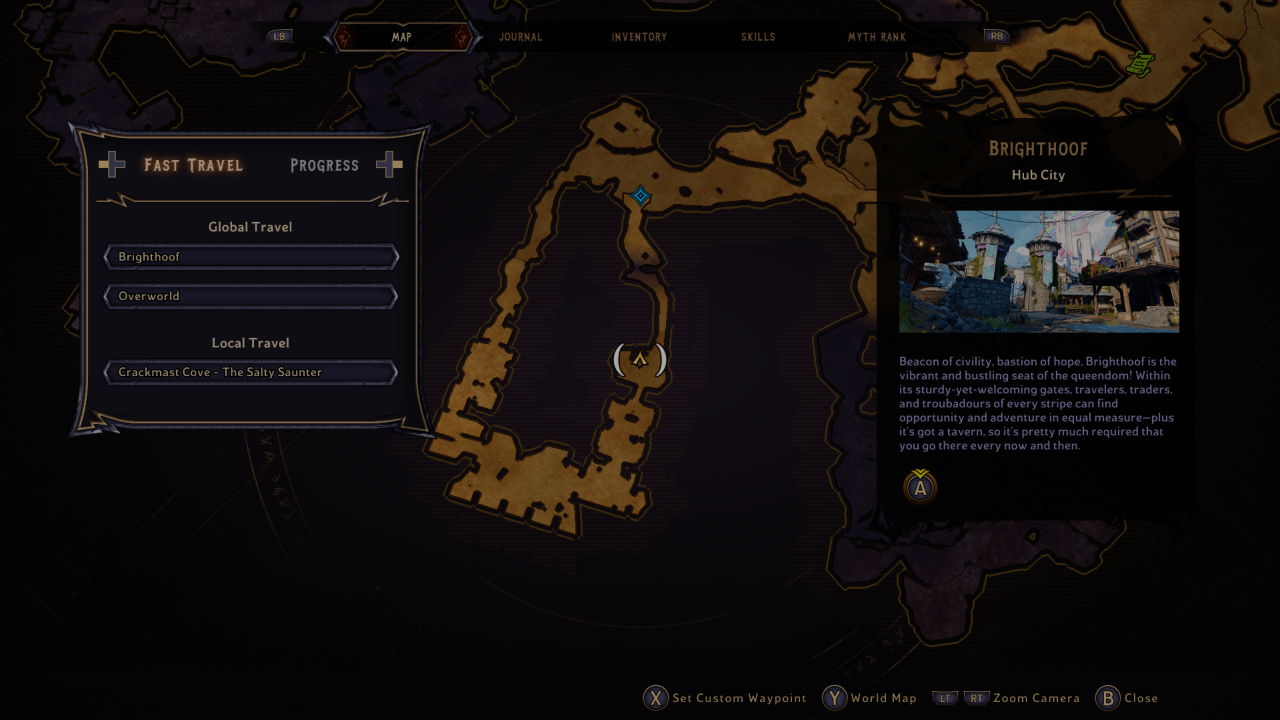
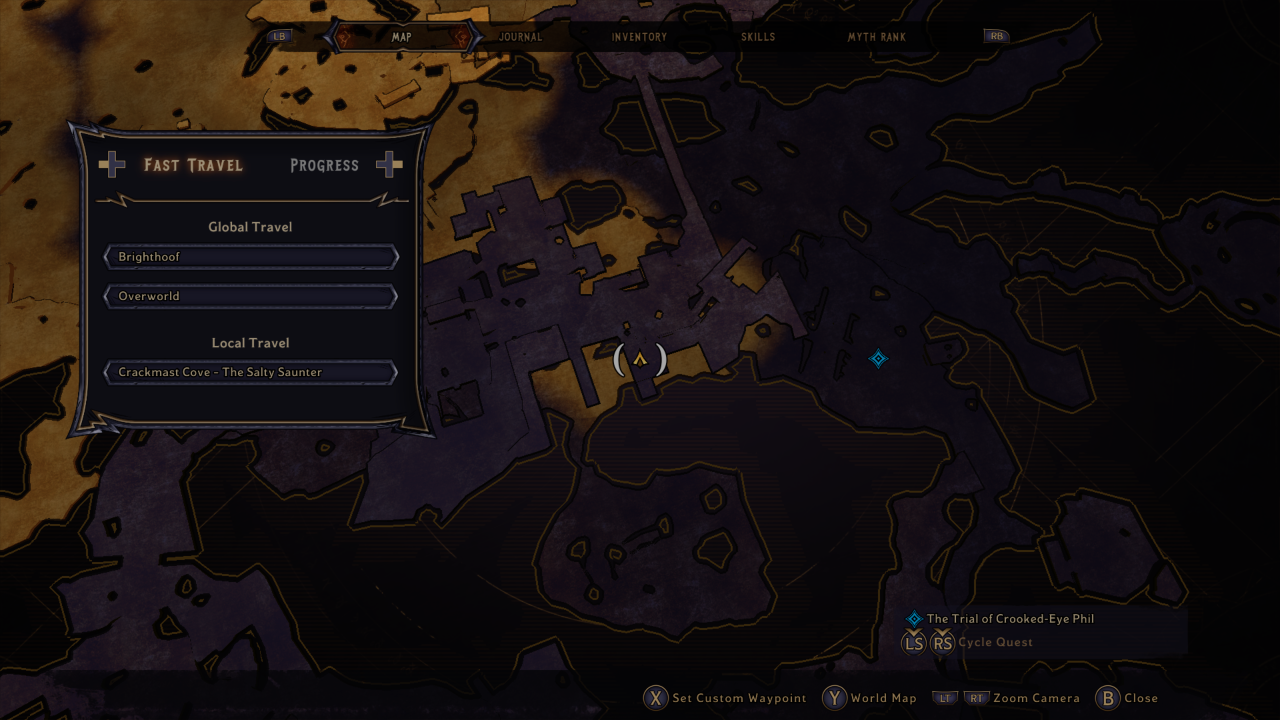
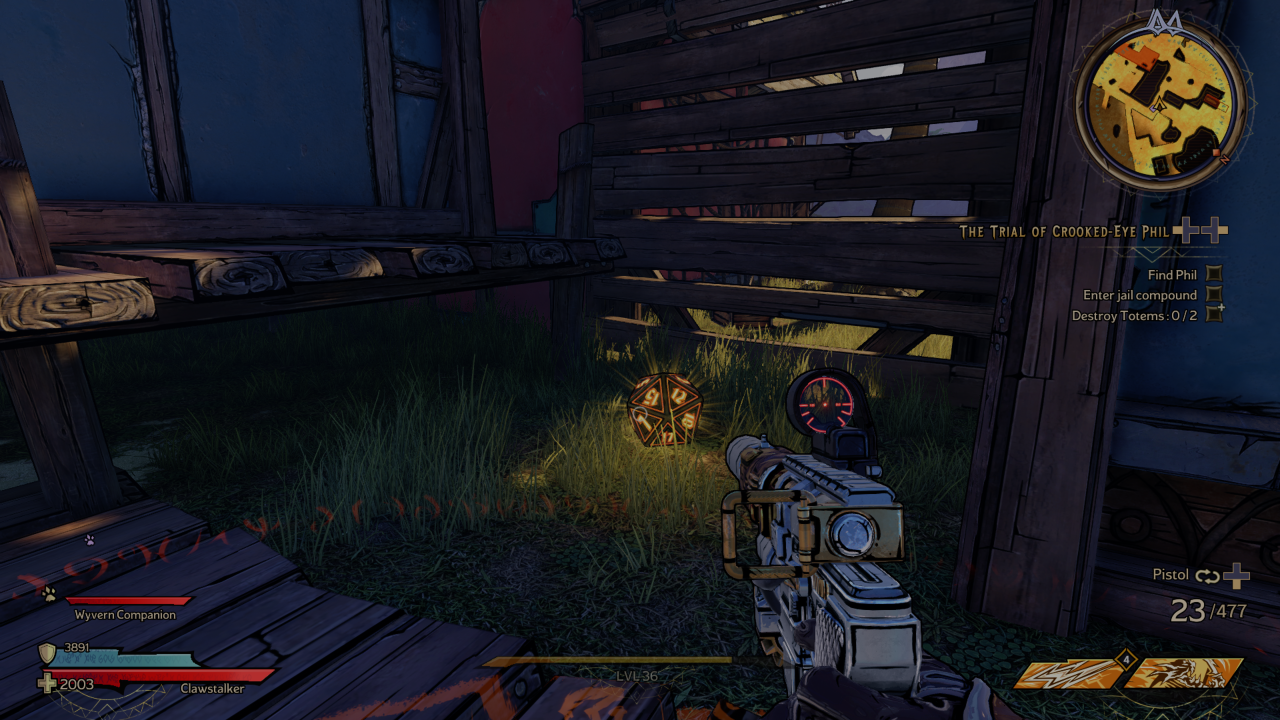
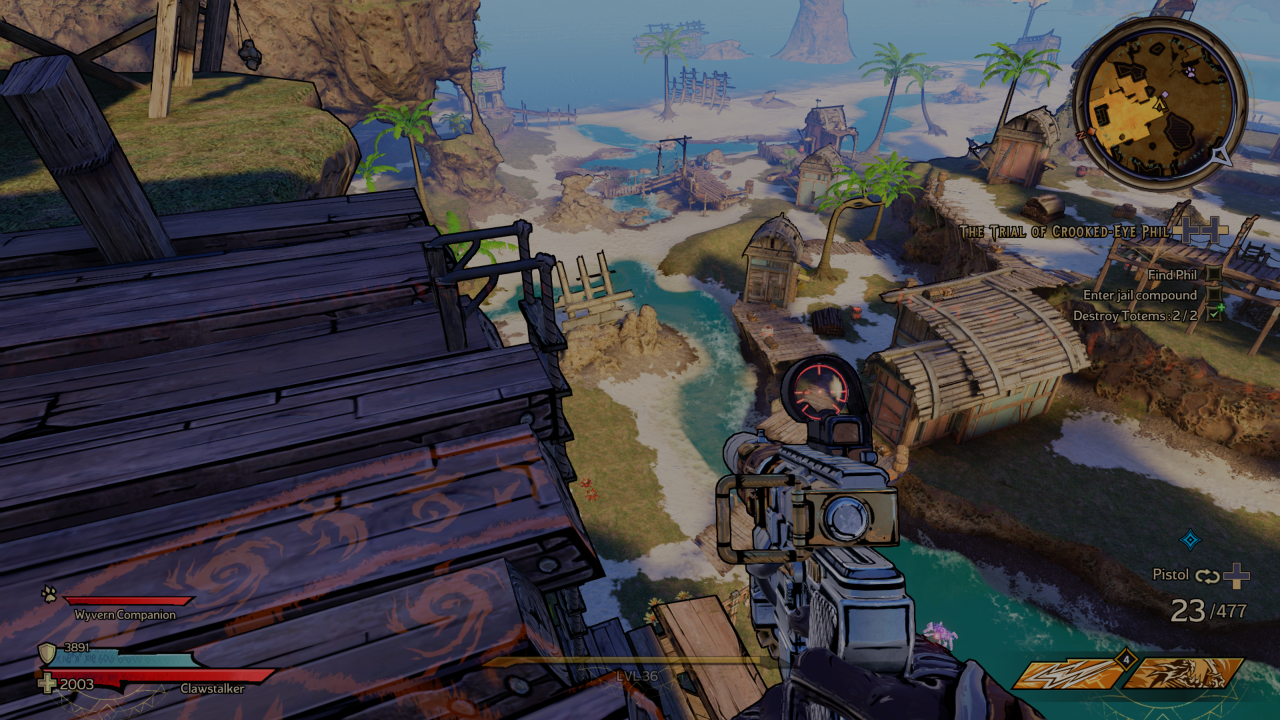
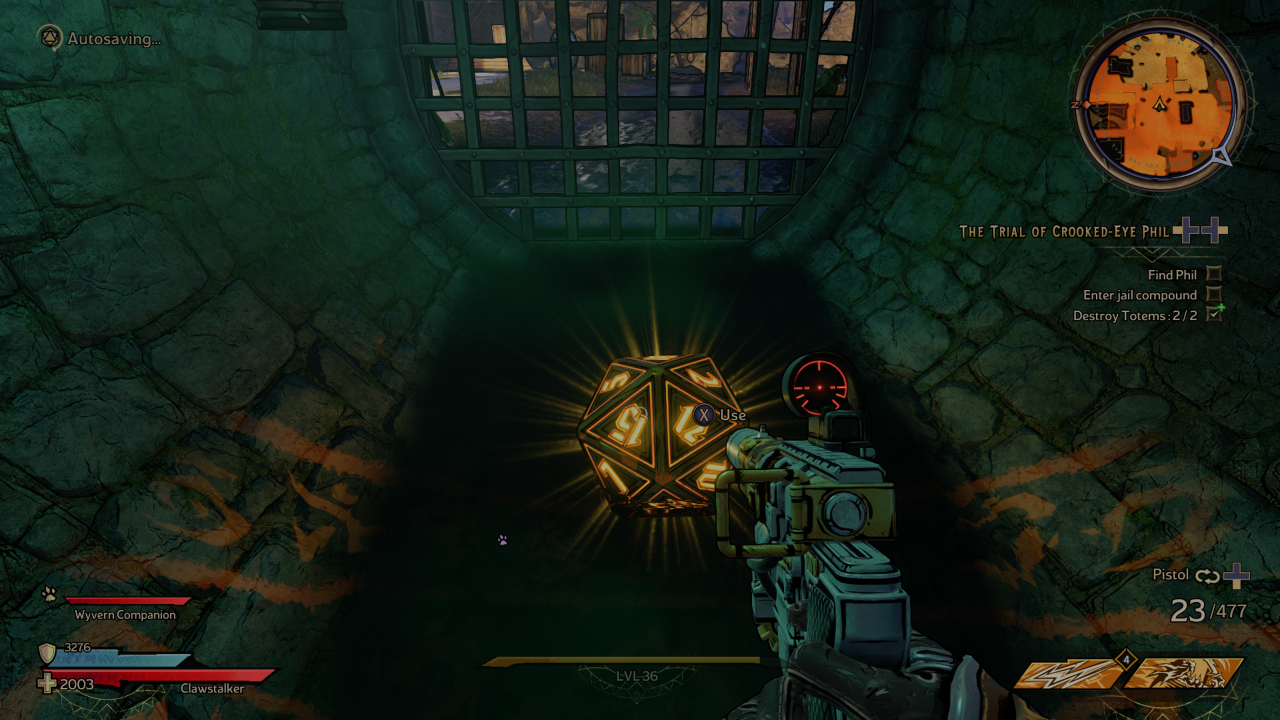
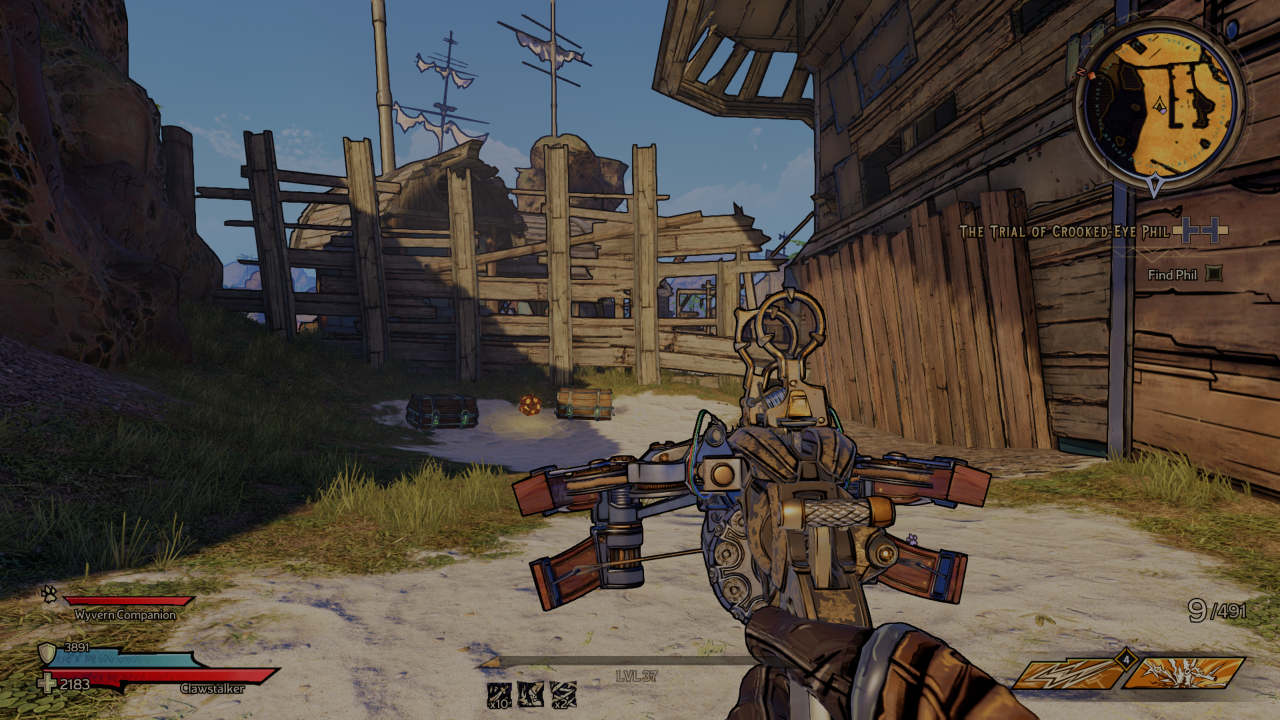
Continue to the north and follow the path as it curves to the west and back around on itself. This area is all part of Crooked Eye-Phil’s quest, so you’ll be heading there to find his certificate of non-evilness. After you’re finished in Phil’s lair and exit, you’ll see a Lucky Dice near a cannon right in front of you.
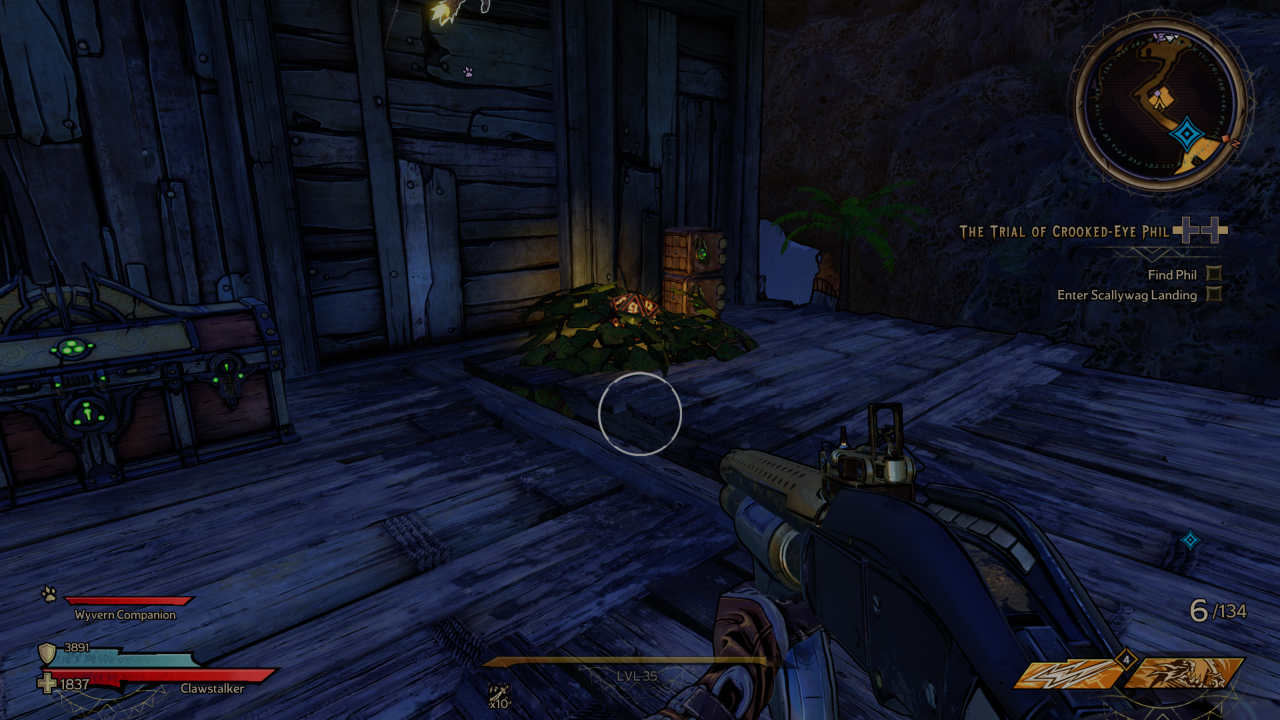
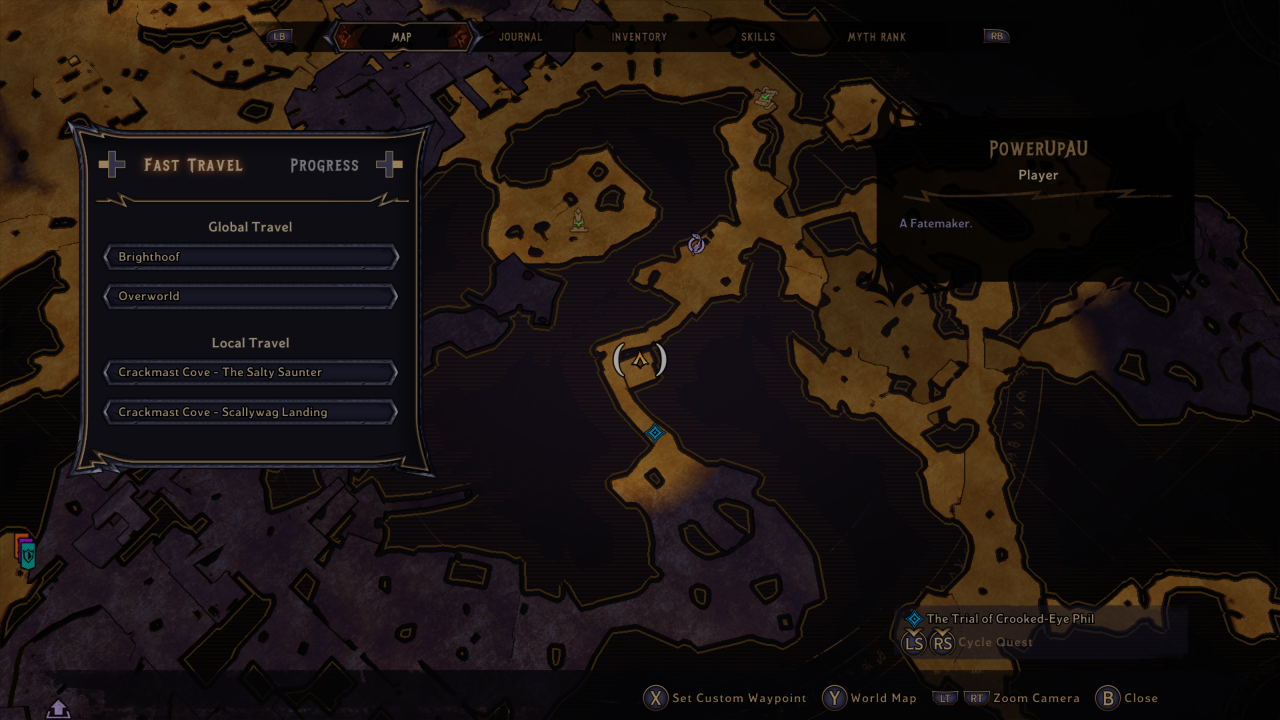
Head back the way you came and if you’re following the quest, you’ll be tasked with heading into Scallywag Landing. As you enter this area, you’ll be walking up some wooden ramps. As you pass a shack to your left, turn around and climb onto the horizontal pole above the walkway. Use that to climb onto the deck for the shack and you’ll find a Lucky Dice hiding in the bushes.
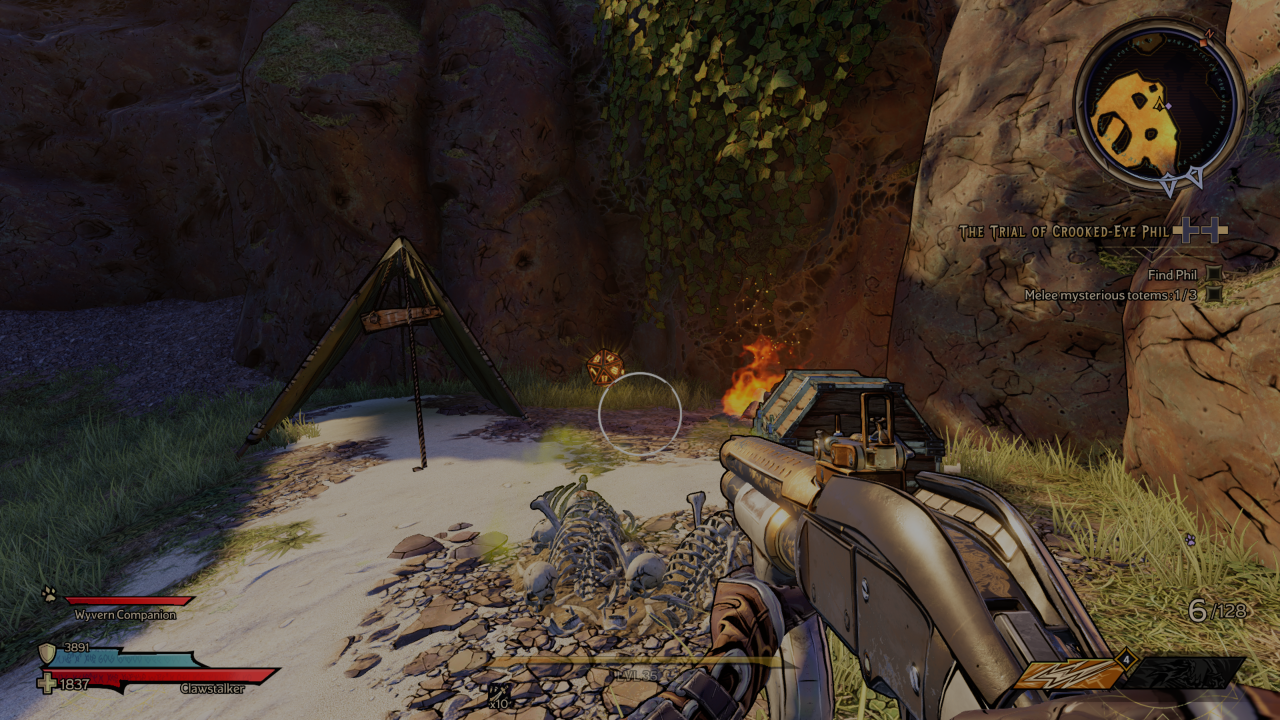

Continue on to Scallywag Landing and when you’re able to take a right (east) instead keep heading north towards some tents and a campfire. Hiding behind the tents is another Lucky Dice.
From the tents, go as far east as you can in Scallywag Landing, while sticking to the northern edge of the area. Ignore the path that leads north and keep pushing east until you reach yet another shack. On the eastern side of this building is a deck with a Lucky Dice.

Next, jump up onto the balcony to your north and go around to the right/east side of the building here. You’ll find a Lucky Dice hiding amongst some crates.

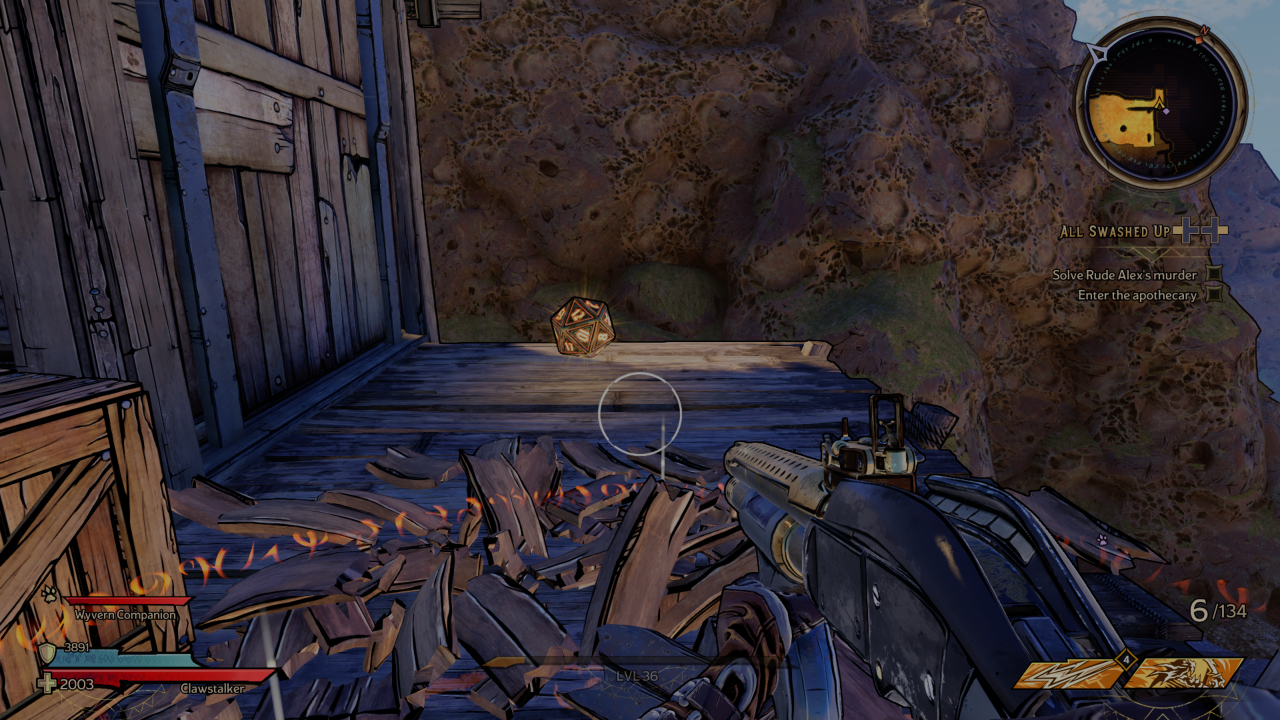
Head west through this area and continue on with Rude Alex’s quest. You’ll come to a warehouse where you need to find three clues. One of the clues is hidden inside a small blocked off area that you need to climb up and around to get into. When you make your way up the platforms at the north of this area, climb up one more time to the highest platform here and you’ll find your Lucky Dice.


Once you’ve completed Rude Alex’s quest, head south out of this area and continue south into Scallywag Landing proper. Stick to the western edge of this area, just south of the vending machines, and you’ll see some ships in front of you and down below. Climb down on the platforms that leads to these ships and you’ll find a Lucky Dice behind some crates and candles.
Head east from the last Lucky Dice and be on the lookout for a wall made of wooden slats in between two buildings. This Luck Dice is tucked away, out of sight, so keep an ear out for the telltale jingle and you should be able to find it on the grass between two shacks.
Next, keep moving south and you’ll come to another small pirate village. There are tonnes of enemies here so you’ll need to fight them off before you can do any exploring. Once you’re clear, head to the southern edge of the village, roughly in the centre, and look for a ladder down to a platform. Once on the platform, you can enter a sewer pipe and follow it to the Lucky Dice.
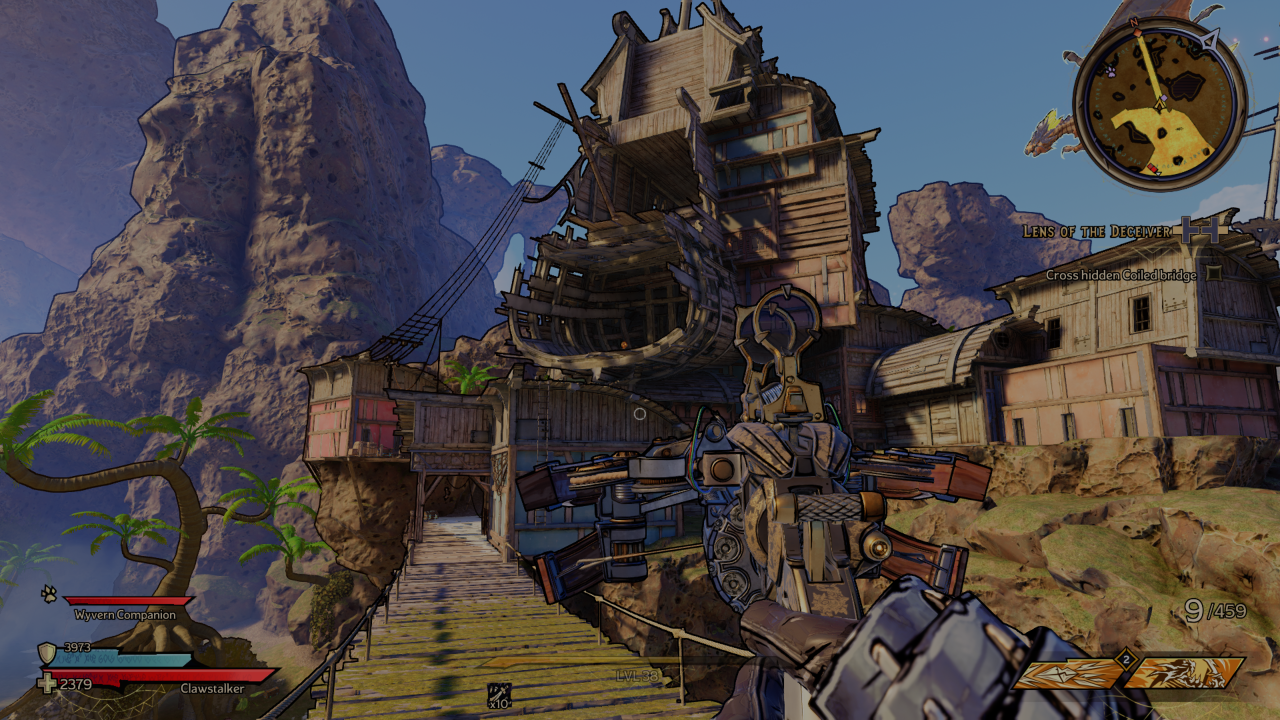
Keep moving through the pirate village and then start heading south across the long thin bridge. Before you get too far across the bridge, turn around and face north and you’ll see a Lucky Dice up on a building to your right. Jump and climb the ladders and grab the dice.
The next area is yet another pirate-infested village. Fight them off then look for a wooden walkway extending east and sloping slightly downwards. Follow this walkway to the end and then look for the Lucky Dice near the house built here.

Go through the pirate prison and then turn right and double back on yourself on the outside of the prison building. In between some ammo crates is a Lucky Dice.
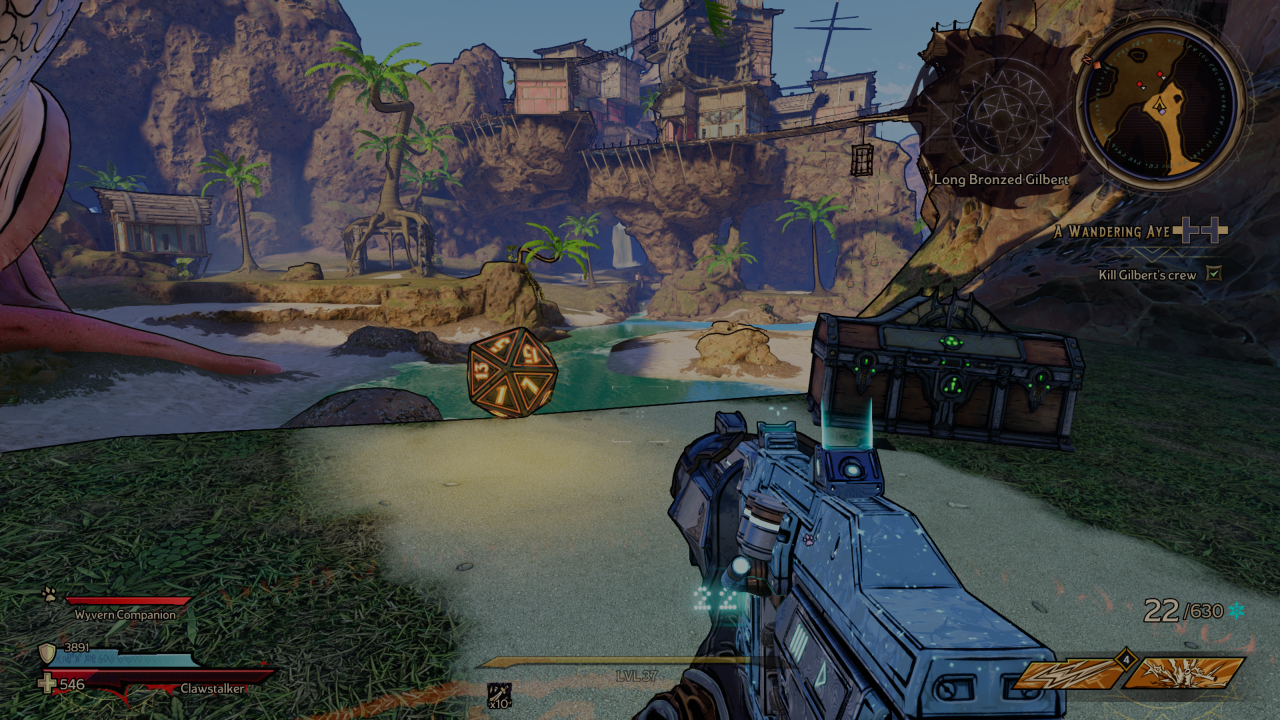
Finally, to gain access to the final Lucky Dice, you’ll need to pick up Bones Tree Wood’s quest from the eastern edge of Scallywag Landing. Follow the quest until you have to face off against the evil pirate in plot armour. This will take you to a previously blocked off area of the map in the southwest. Once the encounter is complete, head down the tunnel to the north and you’ll come to a chest and the Lucky Dice overlooking the area with the beached whale.
That’s all 22 Lucky Dice in Crackmast Cove. You can check out other guides for Tiny Tina’s Wonderlands here.
Tiny Tina’s Wonderlands is now available.

